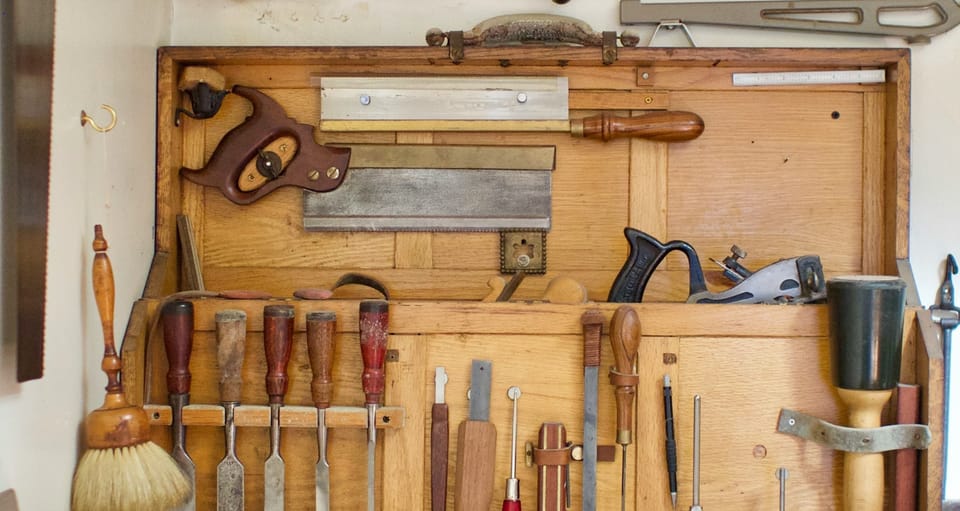
Tools of the trade
In my recent "Show and Talk" post, I discussed my commitment to sharing my learning journey, a process that continues to evolve. Many of you have shown interest and are starting to sign up for this series. If you're reading this and haven't yet signed up, I encourage you to do so. Here's the signup form, or you can opt to subscribe to this blog for updates.
Since the beginning my analysis work, many have asked about the tools I use for my visualizations and simulations. Although I have previously discussed this sporadically, my toolkit and workflow have expanded significantly. It's time to revisit this topic and document it, not just for my future reference but also to assist you, especially if you're embarking on this journey from scratch. I intend to keep this post updated and as relevant as possible.
Working with GeoTiff
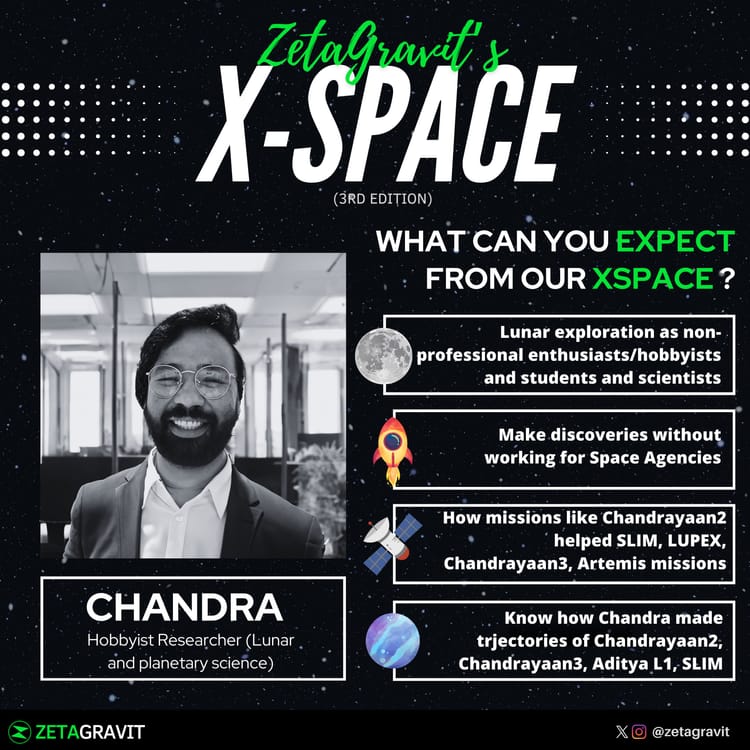
In my discussion with Zeta, I explained how data in the visible spectrum is disseminated by various organizations. I utilized the following tools to work with GeoTiff files:
| Tool | Where to Download | is FOSS? | What Expertise required? | Remarks |
|---|---|---|---|---|
| gdal/Python | https://gdal.org/download.html#download | yes | CLI and Python - Not for beginners | Extensive documentation is available so learning to use isn't that difficult |
| QGIS | https://qgis.org | yes | GUI - Easy | Very good starting point and has extensive documentation and tutorials on YT |
| ArcGIS/ArcMap | https://www.esri.com/en-us/arcgis/products/ | no | GUI - Easy | Very good paid software |
However, my preferred tool for visualization and analysis is QGIS, and I use Python extensively to create specialized visualizations, particularly for public dissemination. If you follow me on X, you might have seen images like these – they are created using Python and the GDAL library. I wrote a collection of such libraries over the time and I intend to opensource them at some point.
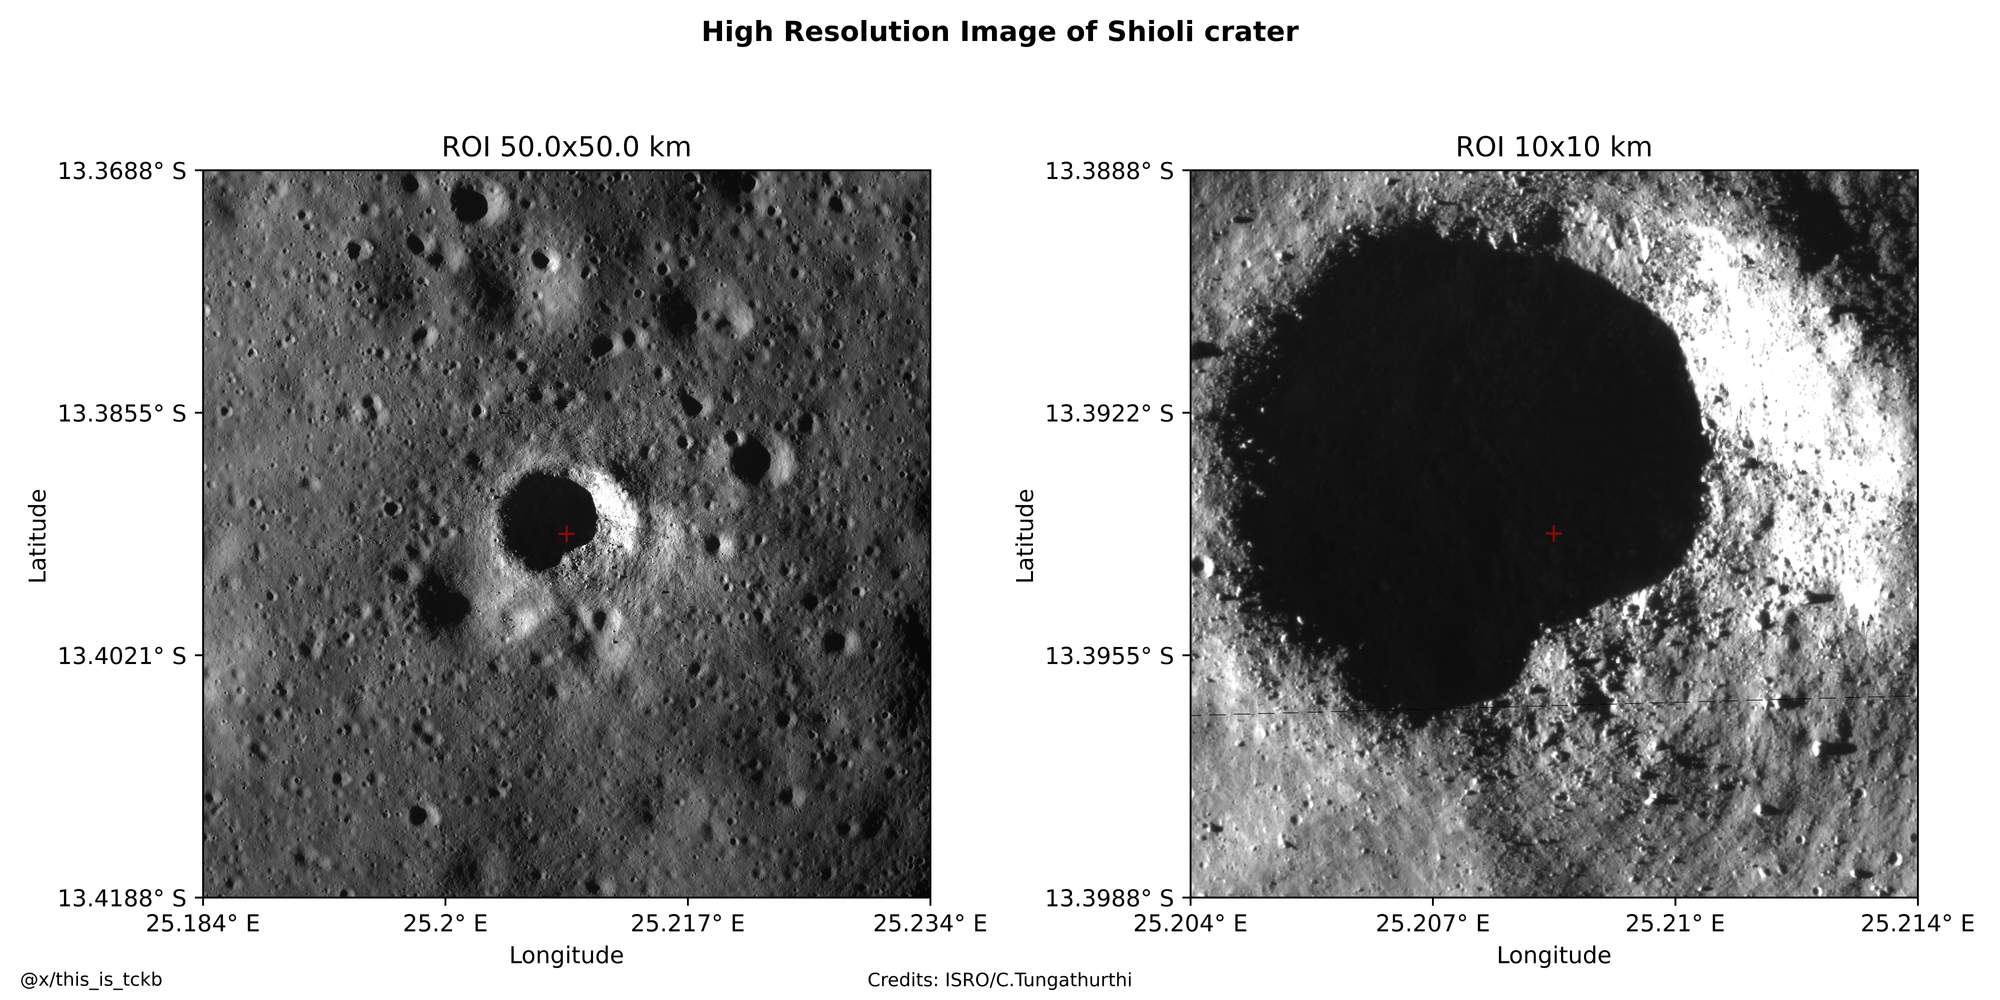
One of the newer ones, is the so-called Aerial zoom view to a location
Aerial zoom of ShivShakti Point. Credits: ISRO/C.Tungathurthi
Creating Orbital Simulations
Although creating Orbital simulation is a complex topic in itself – and you'll learn more about it in my series, I primarily use the following tools for creating them:
Orbitsimulator developed by Tony Dunn
Most of my simulations are created using an orbital simulation web app developed by Tony. This app is quite versatile, supporting extensive light scripting with JavaScript. It operates entirely within a web browser and is "user-friendly" – most of the time if you know what you're doing.
Orbital Simulation of XPoSat
I got a lot of support from him at the begining and later adapted it according to my weird requests. thanks tony!
In a nut-shell, its:
- simple
- easy to use
- can be scriptable
- can directly import JPL Horizons objects
- only ephemeris
SPICE-enhanced Cosmographia
In the recent weeks, I moved on to more complex and realistic simulations, I feel this represents the data better and gives a more realistic outlook of the entire missions.
Cosmographia is a visualization program rendering the solar system and its bodies in 3D to create a freely navigable map of the solar system.
This tool is designed for creating highly accurate simulations and offers extensive customization options. While it's ideal for public outreach, it is not intended for actual mission planning purposes.
In a nutshell, it:
- can be used for realistic simulation,
- supports 3d geometry of spacraft as CAD models
- is scriptable using python
- no direct support for JPL Horizon data
- can work with ephemeris and spice data
again, you'll learn more about these in detail in my series.
Image and Video processing editors
For image editing and processing beyond what my Python library handles, I primarily use Adobe Photoshop(monthly subscription) and Apple Preview. For video projects, I turn to Davinci Resolve (free tier) and Movavi Editor (monthly subscription). When it comes to producing 3D renders, Blender is my tool of choice.
This blog post is a living document, which I'll continuously update with new information. Be sure to revisit for more updates at a later date.


Member discussion